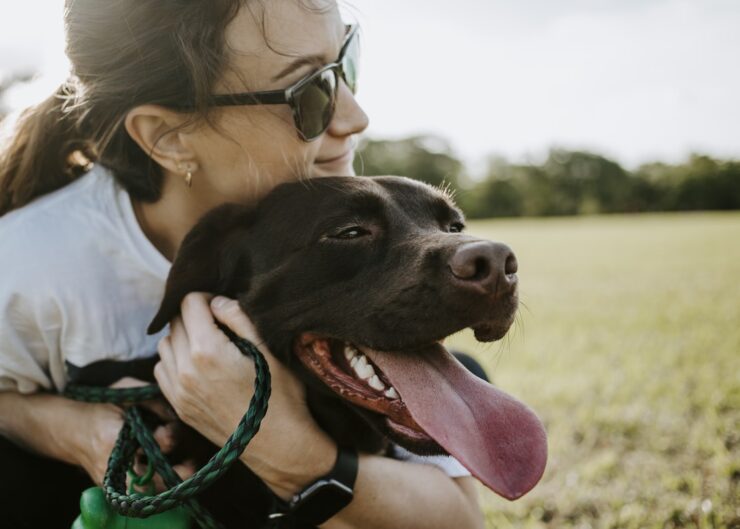
Dogs are adorable creatures who often love to be playful around humans. Even when domesticated, a dog or its puppy is always going to enjoy the fresh air. It is therefore wise to take them out with you when you know that your destination will be pleasant.
If you are stepping out and need to carry your pet dog along with you, you might want to consider investing in a dog carrier. There are multiple dog backpack options that are available and you can find some on hugmypup.com. Not willing to invest in a dog carrier? Do not worry. We have got you covered with the guide on how to turn your backpack into a dog carrier, 2023.
Understanding Your Pet’s Need
As a canine owner, you must realize how important it is to keep them comfortable enough on your long walk. The carrier you DIY(Do It Yourself) must be such that you do not have to unnecessarily don another backpack for your pet’s belongings and your own wallet, bottle, and other necessities.
At the same time, you must consider the possibility of them soiling the carrier you make. It must be built sturdily enough to support the weight of the puppy.
How To DIY It?
1. Accumulate All The Required Materials
Firstly, you must gather everything before you can actually start with the procedure. You will be requiring:
- A pair of scissors
- Cloth
- Tape
- An old bag
- A plier or a wirecutter
- A sturdy cardboard
- A smoothened net of wires
Keep in mind the needs as mentioned earlier of your pet before selecting the material.
2. Select And Compose The Bag

Choose a bag that is not very old. Old bags are usually worn out and may fall apart when exposed to weather conditions like rain, wind, and heat from the sun. Also, examine the chance of the final product not being friendly to your puppy’s skin. Breathable bags are perfect.
Once you have selected a bag, you must clean it inside out. It is ideal to leave it out in the sun for a few hours to ensure that there are no bugs that might become a stowaway in your journey. The bag should have a real and natural smell, or your pet might not stay in for long.
3. Choose The Way You Want To Make It.
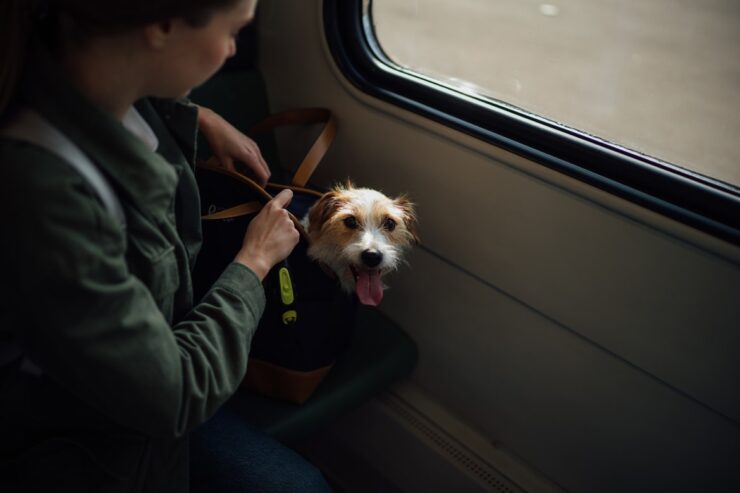
If the bag you have chosen is a large handbag, one side can be netted like a cage. If it is a backpack, you could keep the chain open so that it allows the dog’s neck to be out. This opening will prevent the canine from feeling claustrophobic and let the fresh air in.
Animals are more likely to be calm when they can view where they are being taken. Another way is to make an incision on the bag in a manner that the front of the back has a mesh.
4. Getting To The Main Process
As per your discretion, opt for one of the methods.
Side Mesh:
- Firstly, measure the width of the bag. Place the wire on one side of the bag for more accuracy. Now mark the outline of the wire by about an inch lesser.
- Cut the wire with the help of a plier or wirecutter. It would be best to smoothen the freshly cut wires; otherwise, you or the puppy might get injured.
- Once done, use your scissors to pierce through the perimeter to puncture a hole.
- Place the mesh of wires into the cavity between the insole material of the bag. Use tape to fix it. Next, pierce a wire reel through the handbag and roll it across the net.
- You may remove the tape once it seems attached.
Top opening:
- This method is indeed a lot simpler. All you need to do is incise some cavities in the sides of your bag to increase breathability.
- The zip on the top part of the backpack should be covered with a soft sponge or a foam lining. This covering will maintain a safe opening for your puppy to peek its neck out.
5. Base Insertion
For both the methods above, you want the bag to be strong at the bottom. Animals will often urinate to designate their territories or possessions. However, on a long walk, they will often urinate in the carrier. It will become a problem if the bag starts leaking from the bottom.
Take the cardboard and cut it out in a way that it hugs into the base of the backpack. On top of it, you can put a cotton cloth or even place a diaper strategically. Now cover it with another cut piece of cardboard. Over that, clip an animal-friendly, microfiber cloth. This way, there will be no way the pet can ingest any material.
6. Decorate it
We will move into the exterior since we are done with most of the interior design. The exterior is functional the way it is. But, it is never a sin that your dog carrier looks funky.
If you know how to stitch, switch to the tailor within you. There are numerous options to browse through. Fur and wool will be ideal for colder climates, and nylon or polyester-based material will be weather-appropriate for wet climates. Stitch it all along the mesh or on the backpack or handbag straps, whichever you choose. Make it colorful and artistic.
It is not an issue if you do not wish to decorate and design the bag in a fancy way. In that case, only cover the loose ends of the mesh so that it looks neat. This final touch will complete the dog carrier.
Conclusion
The perfect carrier is always available across the internet. Choosing to put in the effort and going the extra mile for your dog is really appreciated. Whether or not the DIY carrier constructed by you is fabulously marketable, be assured that if your pet senses comfort in it, your journey will ultimately feel like a walk in the park.